1
Inspect the original pixels
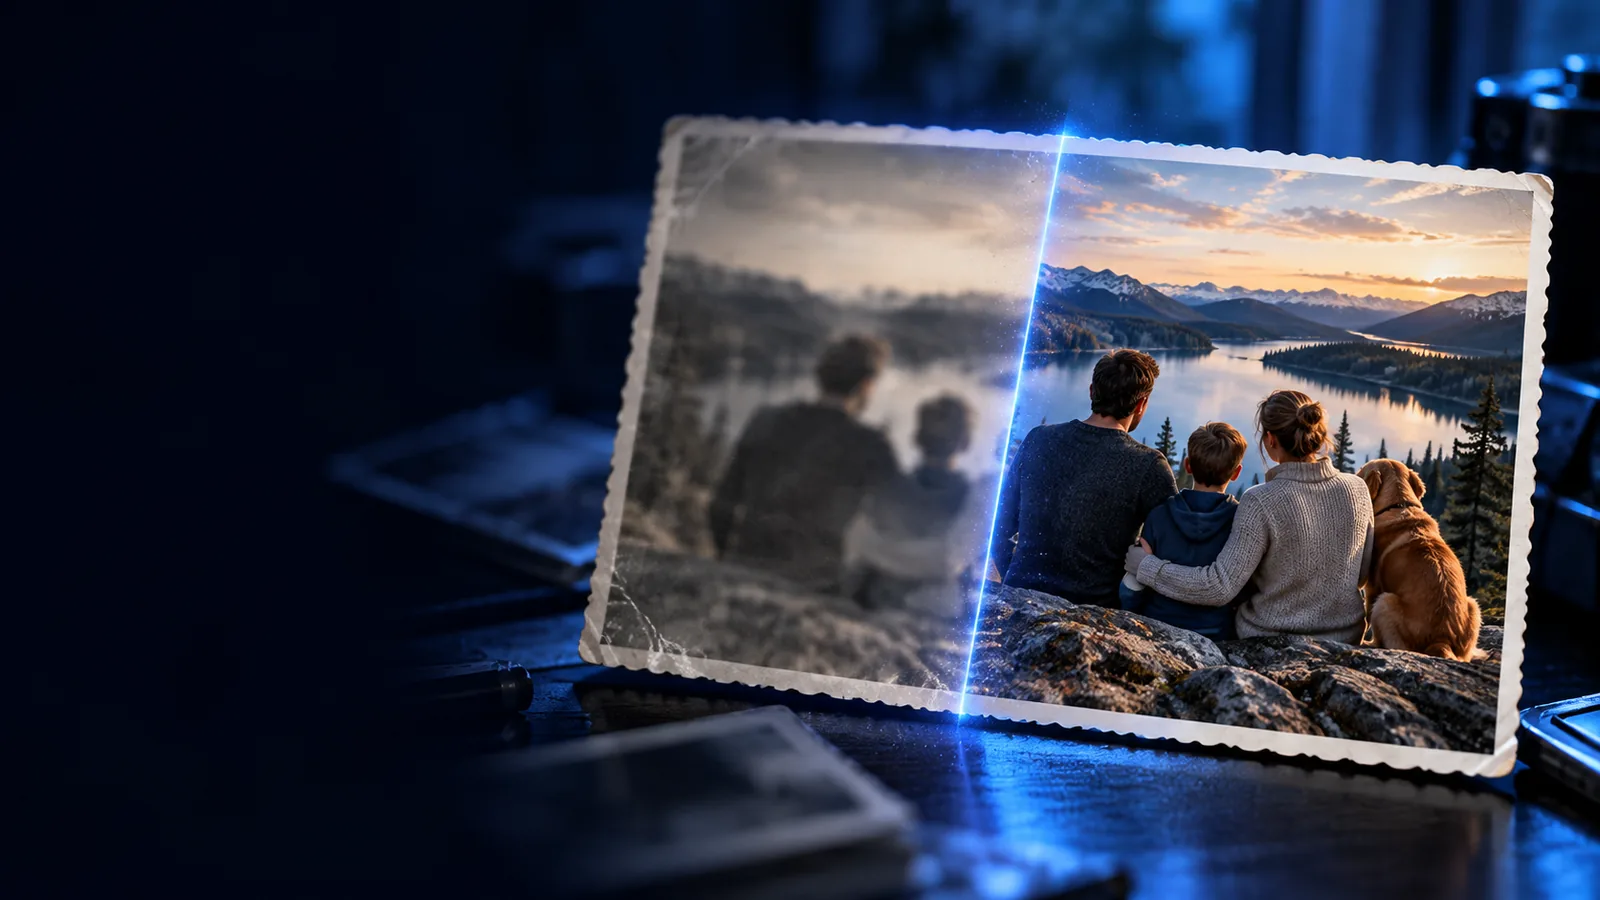
Open the highest-resolution original you have and view it at 100% size. Look for edges that are soft but still present. This check helps you decide whether an unblur image attempt has real detail to work with, rather than only compression blocks or noise.
2
Sharpen in small increments
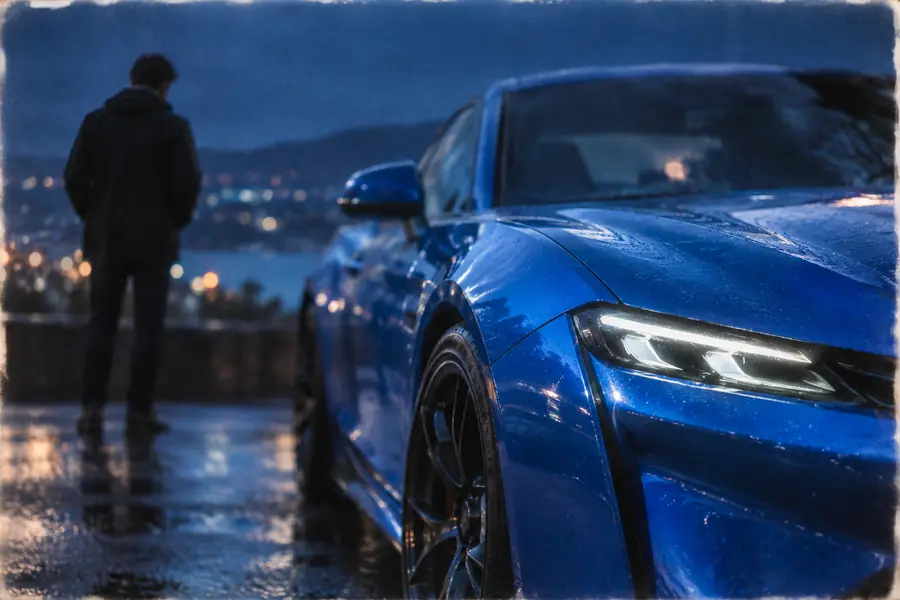
Use your editor’s sharpening or unsharp-mask control, then compare the same crop before and after each adjustment. Keep the effect local if the background is already grainy. This is the main advantage of working without ai: you choose the strength and can undo every change.
3
Stop when artifacts appear
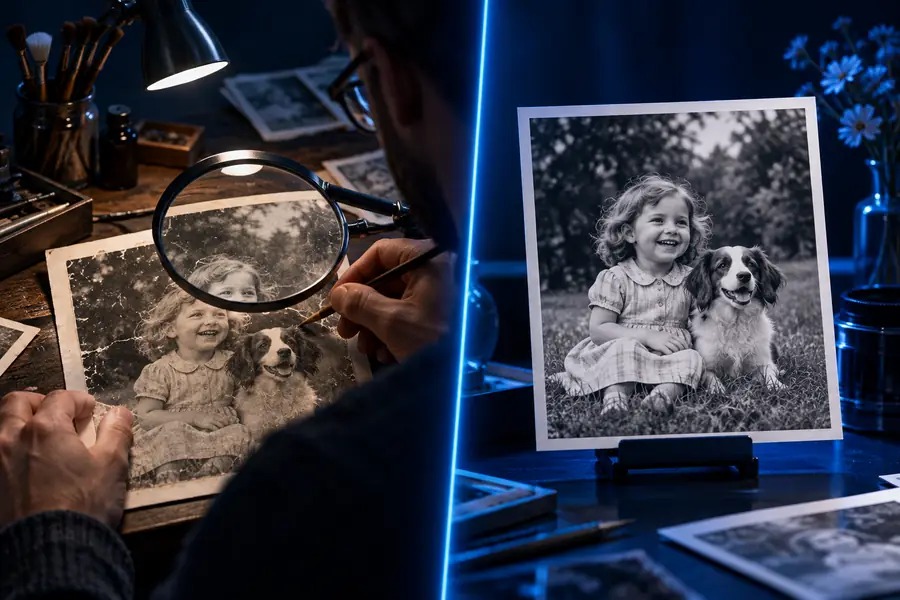
Check hair, lettering and high-contrast outlines for bright halos or speckled texture. Reduce the setting if those appear, and save a separate copy. A convincing unblur image result preserves believable edges instead of making every pixel look harsh.