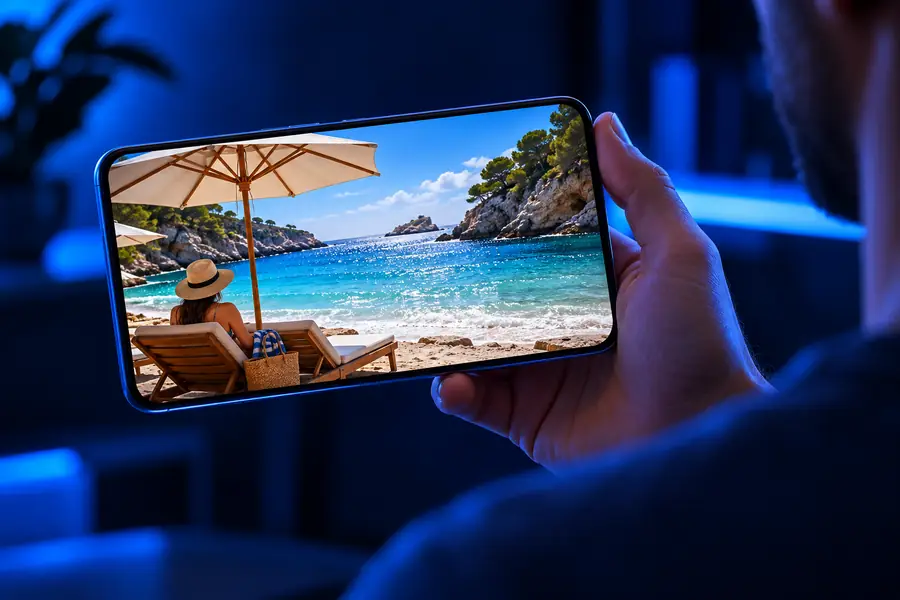
iPhone photo clarity

Is there a way to unblur a photo on iPhone? Start with the original

If you want to unblur image details on an iPhone, first check what caused the softness. A slightly soft photo may respond to sharpening; missed focus or strong motion blur usually cannot be fully reversed.

Continue on SupaVisual

Sign in to SupaVisual to upload an image and use prompt-based image editing or 2×/4× upscaling. Generation requires a paid plan. There is no dedicated deblur, sharpen or denoise tool and no guaranteed recovery of missing detail.

Open SupaVisual image editor

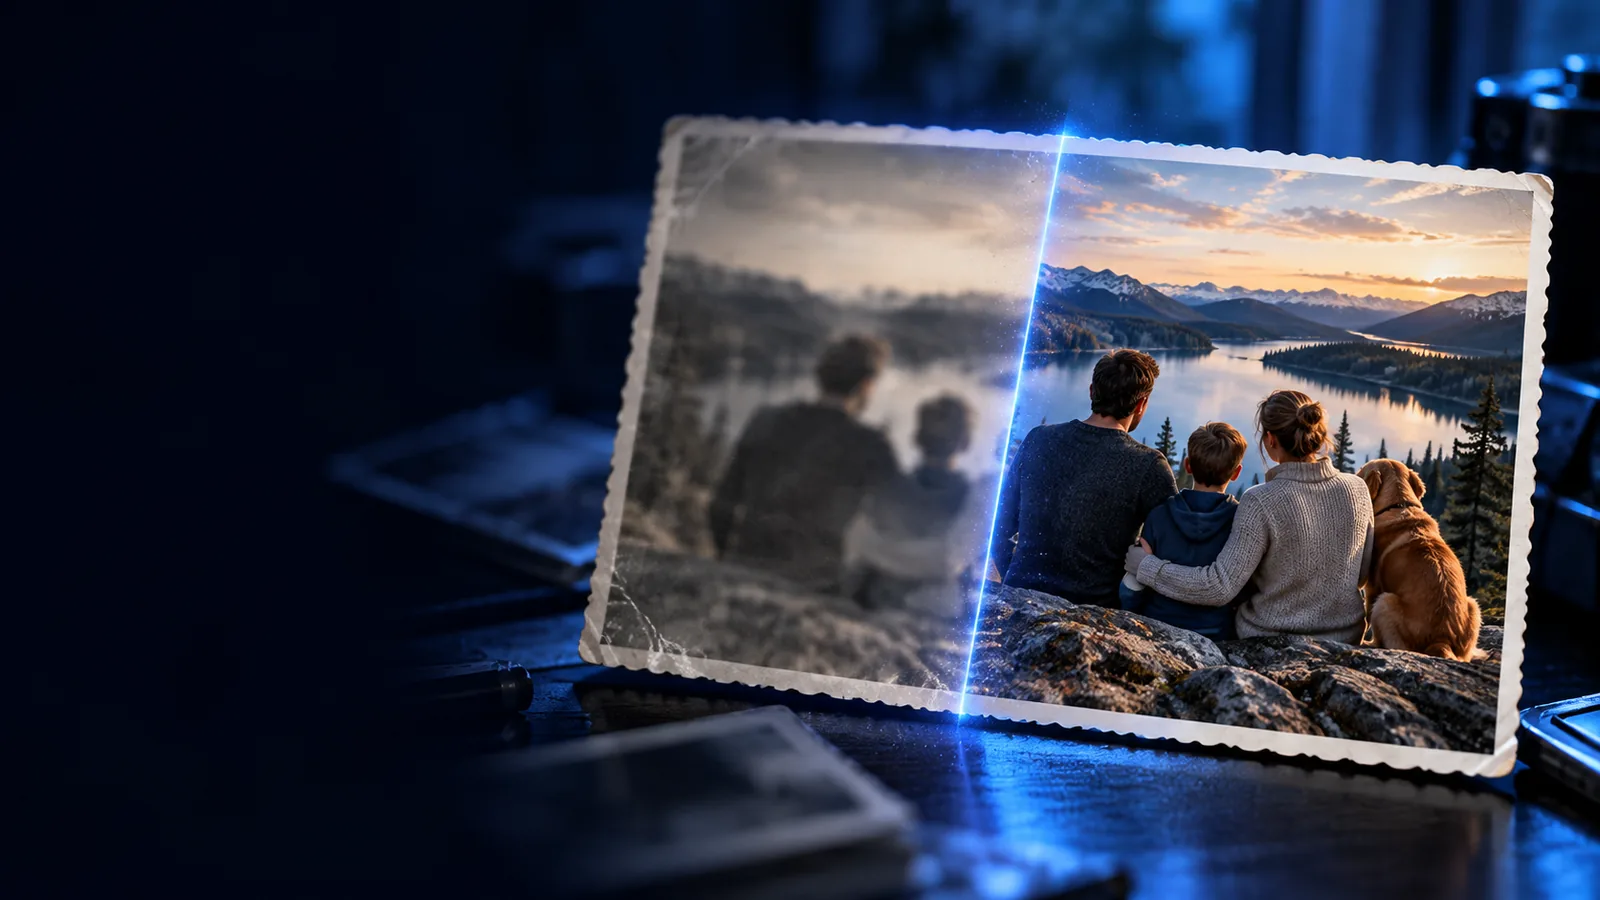
Illustrative concept: compare a soft photo with a clearer-looking version. This is not a product output; upload and describe your own edit on SupaVisual.

Unblurimage landing visual showing image clarity examples

Three concrete ways to improve a soft photo

Choose a workflow based on whether the iPhone photo is mildly soft, heavily blurred, or only looks blurry in a shared copy.

Try the original in Photos

Open the photo on your iPhone, tap Edit, and make a modest Sharpness or Definition adjustment if those controls are available. Compare the result at normal viewing size, then zoom in for bright edge halos or exaggerated grain. This is the quickest way to unblur image edges when the camera captured most of the detail but rendered it softly.

Compare a browser-based approach

If the Photos adjustment is not enough, open an image workflow in Safari and check its supported inputs and privacy information before sharing the file. Keep the original untouched so you can compare versions. A browser workflow is a separate option for an iPhone photo, not a claim that Unblurimage provides a native iOS app or guarantees restored detail.

Find a better source file

Check the surrounding frames in a burst, a Live Photo's available frames, or the original in your photo library. If the image came through a message or social app, ask for the original rather than sharpening a compressed preview. Finding a sharper source often does more than another attempt to unblur image details that were never recorded.
Which approach fits your iPhone photo?

Start with the least altered version you have. The right outcome is a useful, believable image, not necessarily the sharpest-looking one.

Family photo keeper

A portrait looks slightly soft, but the faces and eyes are still recognizable. Try a restrained Photos adjustment before exploring a web-based image option.

Keep skin texture natural and compare the edit with the original at the size you plan to share. Strong sharpening can make eyelashes and hair look brittle without resolving missed focus.

Can we unblur a picture?

Document holder

A photographed note is hard to read. First look for a sharper frame or take the picture again with steadier hands and better light if the document is still available.

Do not treat newly legible-looking letters as verified text. An attempt to unblur image content cannot reliably establish characters absent from the source.

blur to clear image converter

Social photo editor

An image saved from a chat looks fuzzy on the iPhone, while the sender may still have a higher-quality original.

Request the original file before making edits. Enlarging and sharpening a compressed copy can emphasize blocks and ringing rather than recover the lost texture.

ai unblur image online free

Detail-conscious creator

A landscape is acceptably clear overall, but leaves and distant buildings look soft when enlarged.

Judge the photo at its intended display size, then test a light edit. If you try an image tool, compare architectural edges and repeated textures for unnatural detail.

unblur image vs photoshop

An illustrative before-and-after result

Use the pair as a visual guide to the kind of change to inspect, not as a promise that a particular iPhone photo will produce the same result.

Softer example

Illustrative social photograph with a softer appearance
Illustrative social photograph with clearer-looking edges
Clearer-looking example

These are illustrative images, not a documented restoration of one uploaded iPhone file. To assess your own attempt to unblur image details, compare faces, small text, and fine textures with the original; a sharper appearance does not prove that missing information was recovered.

Privacy and accuracy checks before sharing a photo

An on-device edit and a browser-based workflow involve different decisions. Check the destination's current handling terms before submitting a sensitive iPhone photo.

Photos edit on iPhone Browser-based image workflow
1

Starting file

Photos edit on iPhone

Work from the photo available in your library; retain an untouched original for comparison.

Browser-based image workflow

Confirm which file you are selecting and whether a higher-quality original is available.

2

Image handling

Photos edit on iPhone

Editing happens in the device's Photos interface; check your own photo-sync settings separately.

Browser-based image workflow

Read the destination's privacy and retention information before providing an image.

3

People in frame

Photos edit on iPhone

Avoid unnecessary sharing of photos containing other people.

Browser-based image workflow

Consider consent and whether faces or identifying details need to be removed first.

4

Text and evidence

Photos edit on iPhone

Inspect letters against the original; sharpening is not proof of what a document says.

Browser-based image workflow

Do not rely on plausible-looking reconstructed text as a faithful transcription.

5

Typical trade-off

Photos edit on iPhone

A small adjustment may help edges, while too much produces halos or grain.

Browser-based image workflow

A clearer-looking result may change textures or introduce details not present in the source.

6

Final check

Photos edit on iPhone

Compare at normal size and zoom in on faces, edges, and background noise.

Browser-based image workflow

Make the same comparison and keep the source available before using the result.

Keep the original while exploring another option

Explore an image workflow from your iPhone

If a restrained Photos edit does not help, you can explore the linked image destination in your browser. Check its available inputs, privacy information, and output before sharing a personal photo. An unblur image attempt can improve apparent clarity, but it cannot guarantee the recovery of detail lost to motion, focus, or compression.

  • Keep the original photo for comparison
  • Inspect faces and text for altered details
  • Check the destination before uploading

iPhone photo clarity FAQ

Yes, sometimes you can make a mildly soft photo look clearer with a modest Photos edit or by exploring a browser-based image workflow. Neither approach guarantees that missed focus or strong motion blur can be undone. Check for a sharper original or another frame before spending time on edits.

No native app is implied here: you can visit a web destination in Safari on your iPhone. Check what the destination currently accepts and how it handles images before submitting a file. If you prefer to stay in Photos, start with the editing controls already available on your device.

Sharpening boosts contrast around existing edges; it cannot reliably recreate fine detail that the camera did not capture. Heavy blur, low resolution, and messaging-app compression leave less useful information to work with. Stronger adjustments may add halos and noise instead of a more accurate image.

Treat an enhanced image as an edited interpretation, particularly around faces, fine patterns, and small text. Keep the source file and compare both versions before sharing or relying on the result. For documents or other consequential uses, obtain a clearer original rather than treating reconstructed-looking details as evidence.

Open SupaVisual image editor