1
Choose and inspect the source
Open the least-compressed original you have and make a copy before changing anything. At full size, look for signs of camera movement, missed focus, noise, and blocky compression. Slight softness may respond to sharpening; broad streaks or a subject that is entirely out of focus leave much less reliable detail. Decide what matters most—perhaps a face, lettering, or the edge of a product—so you have a clear way to judge the result.
2
Try a restrained browser-based edit
Use the linked web workflow and describe the image and the improvement you want. If the destination provides an image input, supply your copy of the best source. Ask for clarity without fabricated detail, such as natural skin texture in a portrait or readable existing edges in an object photo. The destination's available controls may differ, so follow what it actually offers rather than assuming there is a particular slider, format, or automatic setting.
3
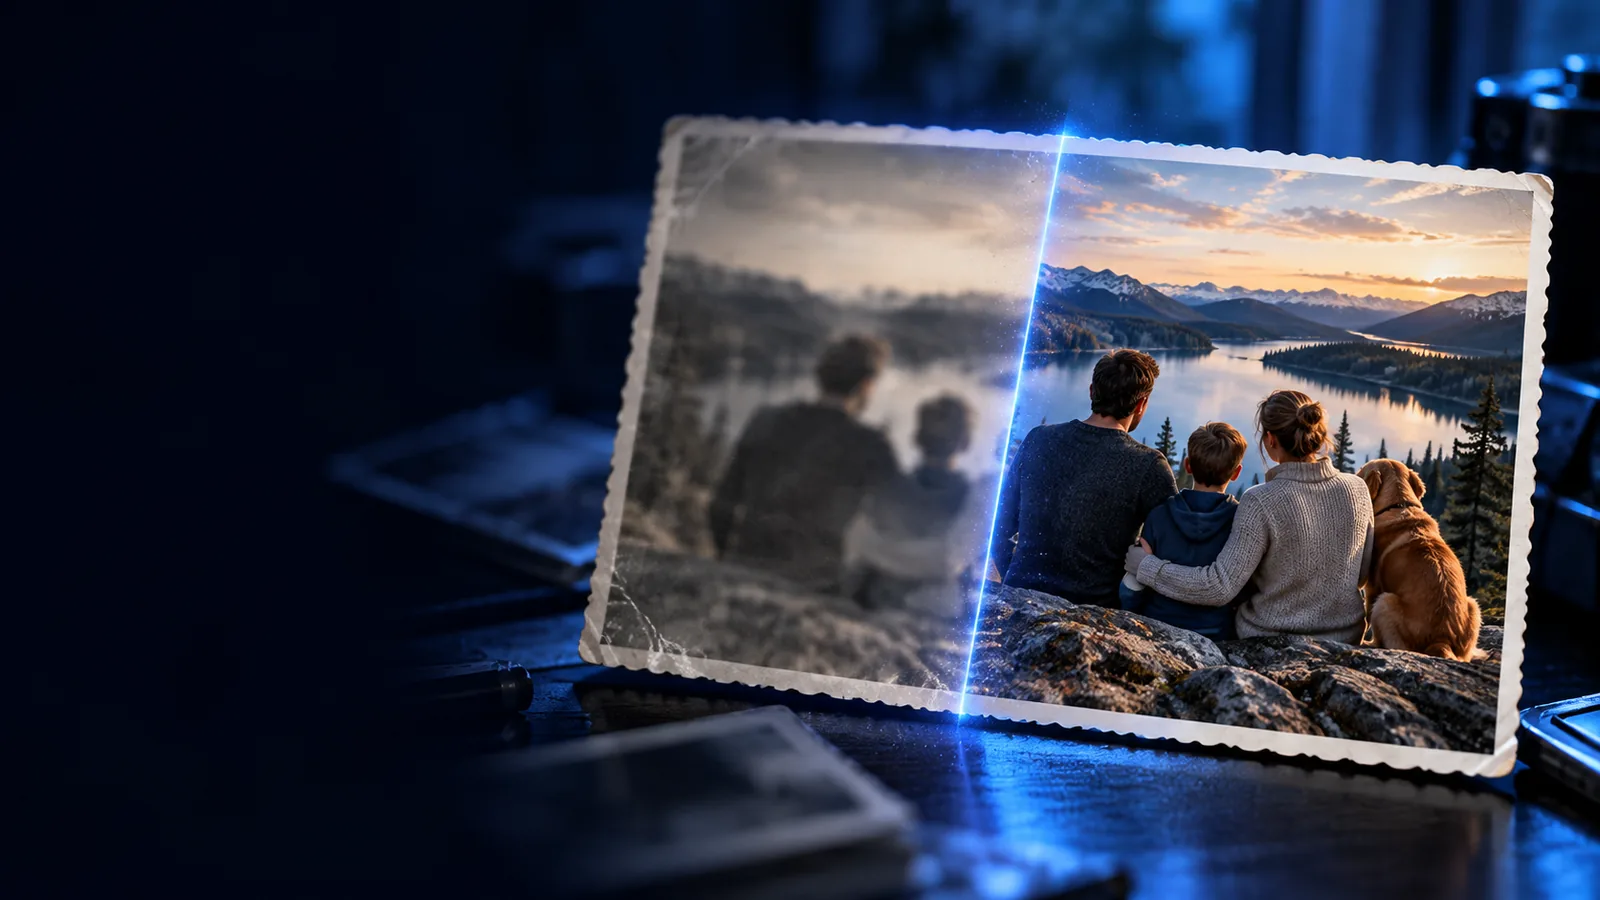
Compare before keeping the result
Place the edited image beside the untouched source and view both at the same size. Inspect the important subject first, then scan smooth areas and high-contrast edges for halos, crunchy texture, doubled lines, or new details that were not visible in the source. If the edit looks convincing only as a small preview, do not treat it as a successful recovery. Keep the original alongside any version you choose to use.